NOW Through DECEMBER 8TH! Only works if you go through THIS LINK!
As part of an 'artist promotion' Society6 is offering $5 off and FREE shipping when you order now through December 8th! Let's make this holiday season artsy!
PS Expect ANOTHER ALL NEW DIY Tutorial in the next few days!
Now back to my Rhinestoned Dreams,
xoxo
Zane Walker

Thursday, December 5, 2013
Wednesday, December 4, 2013
GIVENCHY Couture Inspired Cuffs DIY Tutorial
Inspired by Givenchy Couture and the use of various textures and embellishments all cloaked within a monotone masterpiece, I thought I would do a little recycling and make some bracelets!
Materials-
-Empty Tape Rolls
-A Scrap of faux leather
-Various faux pearls, rhinestones, studs, and any other kind of embellishment you can think of
-E-600 or Super Glue
-Clips
-Acrylic Paint (and a brush) or Spray Paint


Step 1-
Begin by protecting your surface, you could use a piece for scrap paper, an old table cloth, really anything to protect your table from glue and paint! Once your covered you want to cut your scrap leather to fit all the way around your tape roll as well as wide enough to be folded over the edges. I went for the edges folding over and meeting the middle but yours doesn't have to fold over that much. Grab your glue and smear some all over the outside of the tape roll. Carefully place your piece of leather and smooth it down. You can wait a minute and let this dry, but if you're anything like me you won't want to! Next lightly apply some glue to your edges that will fold inside of the roll. Fold the flaps over and smooth… this can take a minute and some coaxing! Put some clips all along the rim of the roll to hold the 'hem' in place while it dries.


Step 2-
Yet again you could wait and allow the glue to dry or just work around the clips! Begin glueing and glueing and GLUEING! Grab your faux pearls, rhinestones, sequins, studs, and just go crazy! Every and any kind of embellishments you have are welcome with open arms. I found it easiest to kind of stand the tape roll cuff on it's side and embellish in sections. With this you will have to let the glue dry for at least 10 minutes before you turn the cuff and lean it on the newly embellished parts. This is when making multiple cuffs at once comes in handy!


Step 3-
Once your cuff is covered in everything but the kitchen sink LET IT DRY! I would give it at least an hour but I actually left mine to dry over night. Now it's time to paint! Yay! I chose to use acrylic paint for that matte kind of really coated finish but you could definitely just use spray paint! If using acrylic paint prepare to do multiple coats in order to achieve an opaque finish. The act of paint also helps seal in all of your embellishments and whatnots. I went for white but you can always use whatever color or colors you want! I think these would look absolutely amazing in black or red! If you want you can spray some acrylic sealant to help protect your new cuff!

Step 4-
Once the paint is fully dry you're ready to wear! I actually made mine awhile ago and have worn them quite a few times, to be honest I have lost a few beads but I don't mind and kind of like the look... I noticed these were the beads where I used less glue so make sure to use enough glue! Any excess glue around your embellishments won't even be noticeable once painted anyway!

Now back to my Rhinestoned Dreams,
xoxo
Zane Walker
Something for Everybody On Your List!
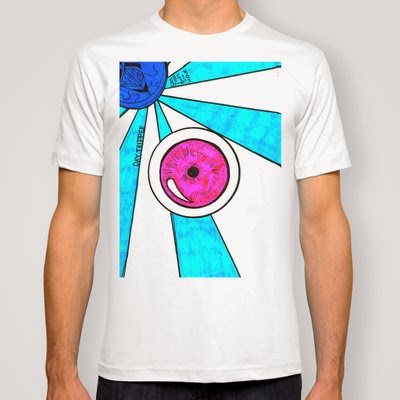
With the holiday season right around the corner I thought it would be a good time to share some ideas and examples of gifts from the Rhinestoned Dreams Society6 store! With something for everybody on your list you'll be sure to make everyone happy! T-shirts for the guys and the girls, hoodies for your cousin, a new iPhone case for your bff, a new mug for your dad, and a throw pillow for your mom! With pieces like framed art prints, laptop skins, kids shirts, onesies, tote bags, and tanks tops for your friend going on vacation you can be sure to leave no one out!


And look forward to some new DIY Tutorials FINALLY!
xoxo
Zane Walker
Subscribe to:
Comments (Atom)